Test Plans
Test plans help you organize and group test cases with a specific focus. By grouping multiple test cases, you can focus attention to a particular content area. Test plans also make it easy to run bulk tests whenever changes are made to your bot or KB, ensuring consistent performance and accuracy.
A well-structured test plan streamlines testing efforts and ensures thorough coverage of critical areas.
Create test plan
To create a test plan, follow these steps:
- On the workspace menu, click KB Test Plans. The Test Plan page appears.
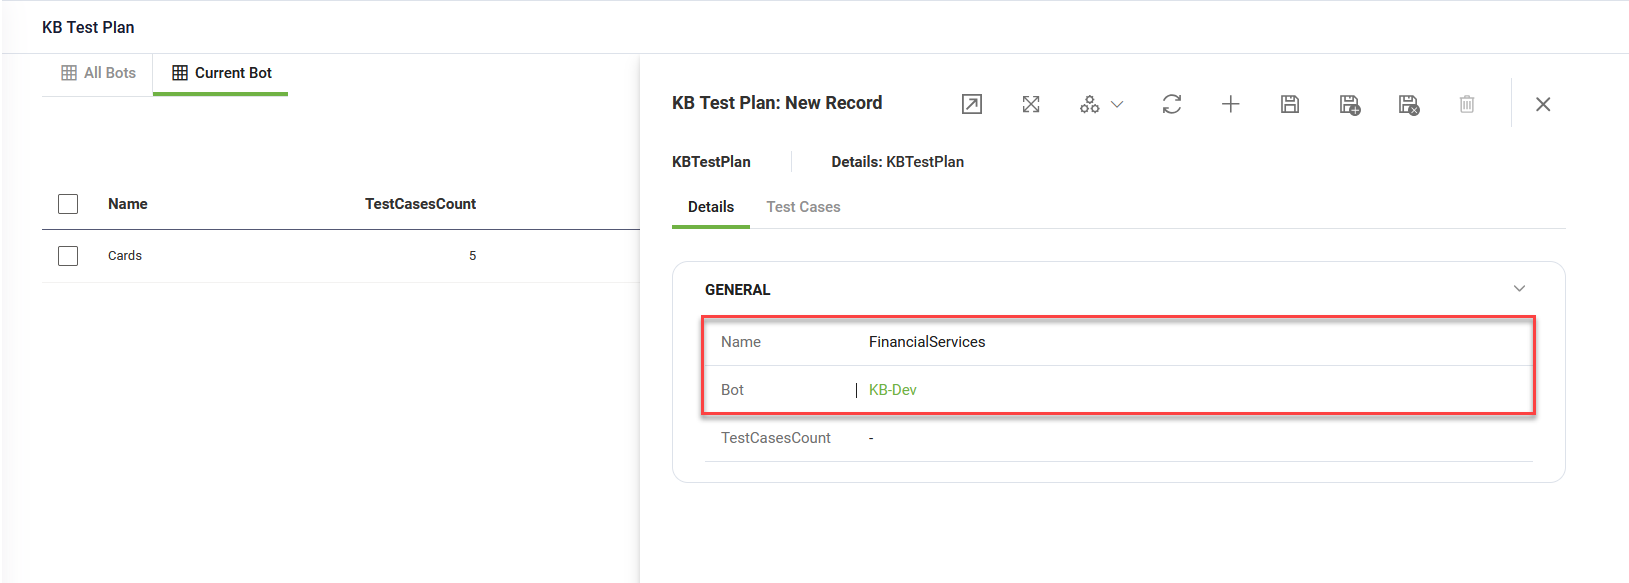
- In the Test Plan page, click the New Record icon in the top-right corner. This opens the Test Plan creation page, which defaults to the Details tab.
- Enter the test plan Name and select the Bot.
- Click the Save icon to save the test plan details.
You can now add test cases to the test plan.
Add test cases
To add test cases to a test plan, follow these steps:
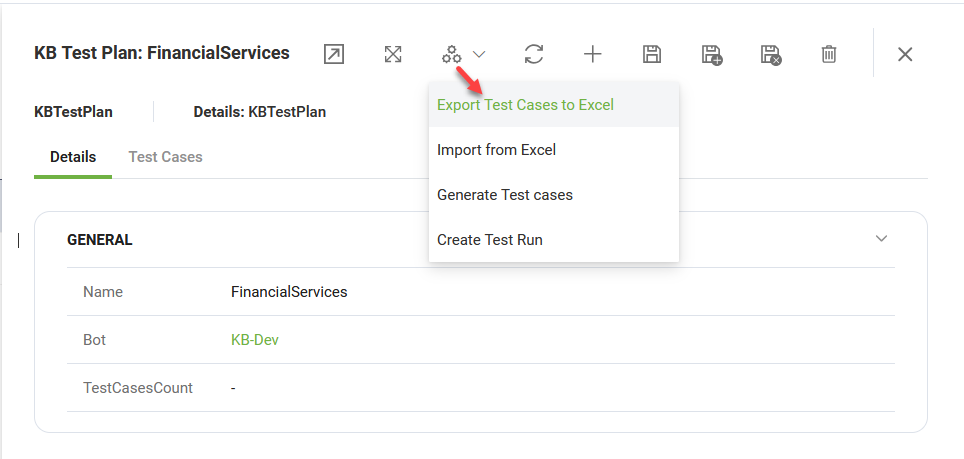
- From the Automations drop-down, select Export Test Casesto Excel.
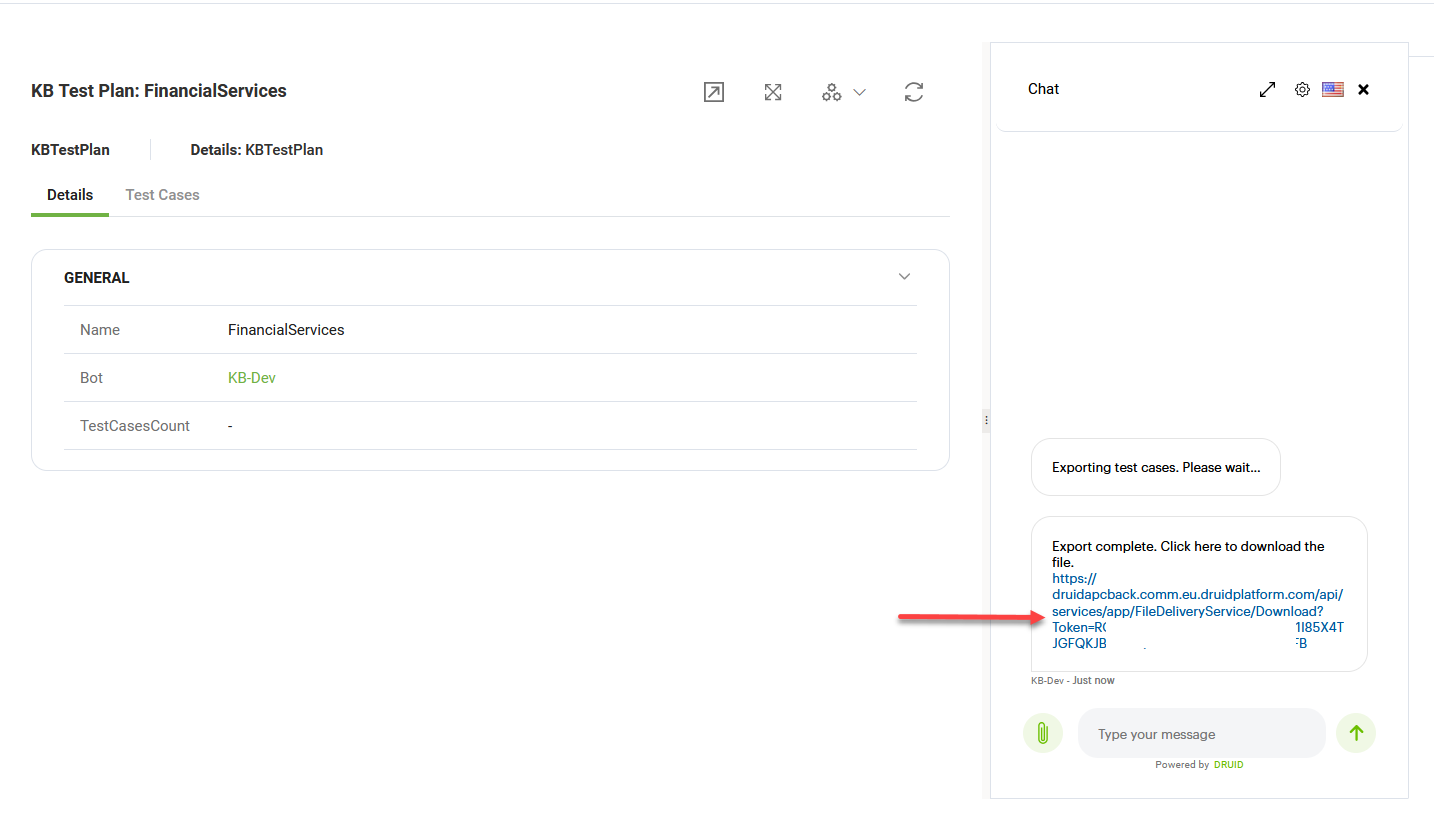
- Click on the download link provided in the chat to download the template on your computer.
- Close the Chat window.
- Open the file, keep only the test cases you want to include in the current test plan, and then save the updated file.
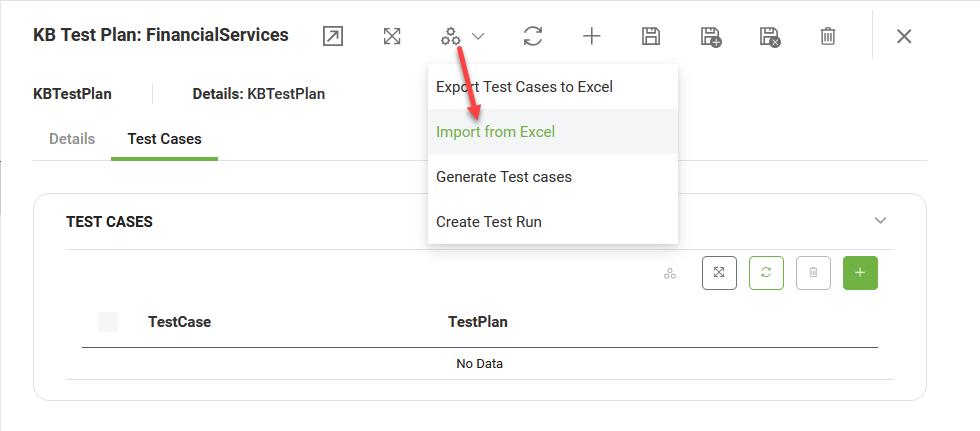
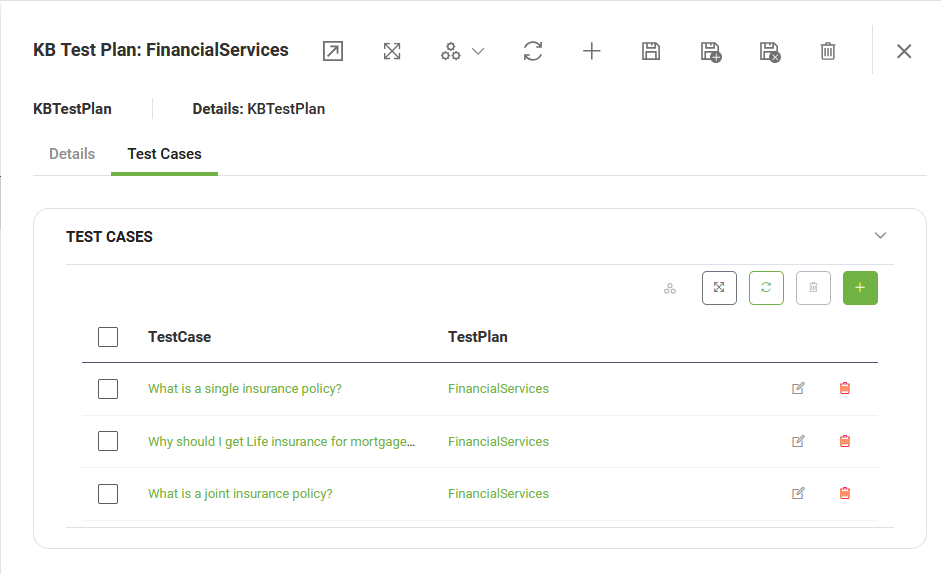
- In the test plan configuration page, click the Test Cases tab.
- From the Automations drop-down, select Import from Excel.
- Upload the test case Excel file in the chat window on the right-hand side of the screen. Use the Upload button to add it.
-
Wait for the import process to complete. Once finished, close the chat window. The test cases will be successfully added to the test plan.
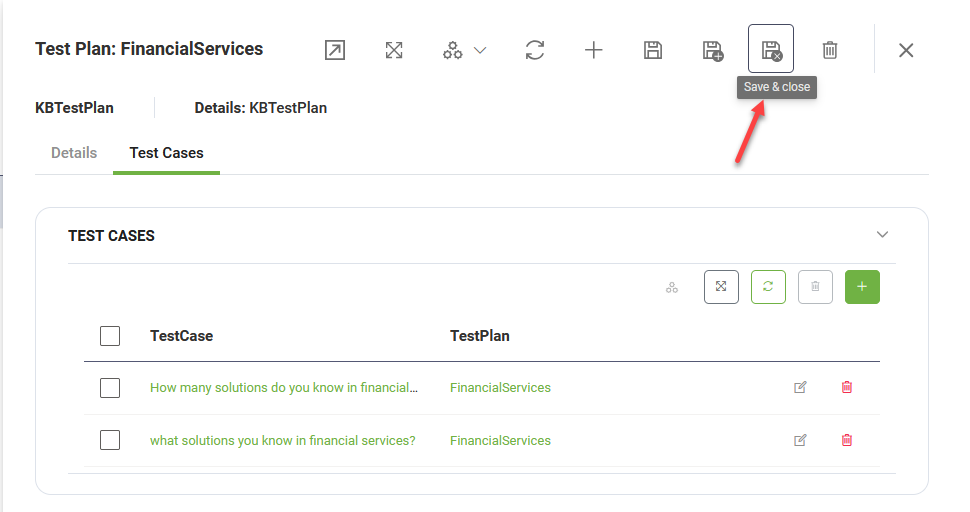
- After you finish adding the desired test cases to the test plan, click Save & close to save the test plan and exit the configuration page.
A chat window appears on the right-hand side of the screen, providing you with the export link.

Create as many test plans as needed to cover the specific areas of the KB data sources you want to test.
You can now run test plans.